Support - CalDigit Online Troubleshooting Knowledge Base
|
|
First Published: 2/24/2015 Last Modified: 2/24/2015 Last Modified by: LL
Article ID:154
|
Summary:
The purpose of this tutorial is to demonstrate how you can restore the entire Mac OSX from a T4 RAID backup through Time machine recovery mode.
|
Products Affected:
T4 TBT2 RAID
|
Apple's Time Machine is a great tool to back up your files, and even an entire OS, to an external storage such as CalDigit Thunderbolt T4 RAID.
When restoring an entire OSX, one would require to restart computer and login to Apple's Recovery Mode, where has no 3rd party device driver installed other than Apple's inbox drivers. Thus, restoring OSX from 3rd party storage may require extra steps. Below shows the steps to restore OSX from a T4 RAID:
A. Preparation:
1. Prepare a USB flash drive or any external storage. In our example, we call this USB disk volume: CAL1
2. Assume your current working OSX already has CalDigit T4 RAID driver installed. You can copy the driver file located in
3. Plug in this USB flash disk to the computer that you want to restore.
/Library/Extensions/CalDigitRAID.kext
to your USB disk.
If you do not have this driver file or have no way to access it while your system is down, please obtain this file from CalDigit Support Team. (support@caldigit.com)
B. Login to Recovery Mode:
4. To start your computer from Recovery, restart your Mac and hold down the Command and R keys at startup.
C. Copy and Load CalDigit RAID Driver from Terminal mode:
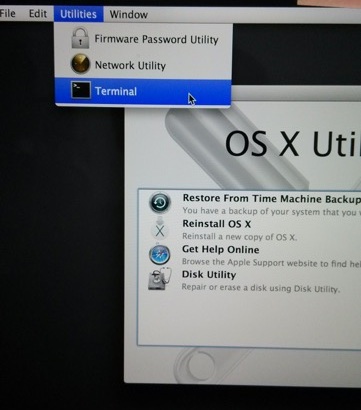
5. Once you are in Recovery Mode, launch the "Terminal" from "Utilities" menu.
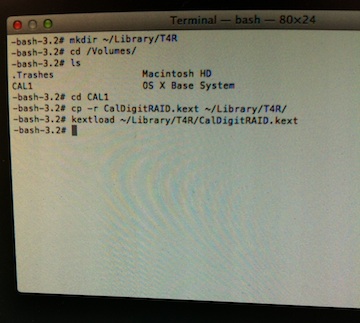
6. In Terminal mode, type in the following commands in order to copy CalDigitRAID.kext to the Recovery Mode system folder.
mkdir ~/Library/T4R
cd /Volumes/
cd CAL1
cp -r CalDigitRAID.kext ~/Library/T4R
kextload ~/Library/T4R/CalDigitRAID.kext
The first line command is to make a temporary folder (called T4R) in recovery mode.
The 2nd and 3rd commands is to navigate to the USB flash disk that you have prepared back in step 1.
The 4th command is to copy CalDigit RAID driver to the temporary folder.
The 5th command is to load the driver in recovery mode.
You will need to hit enter after each command.
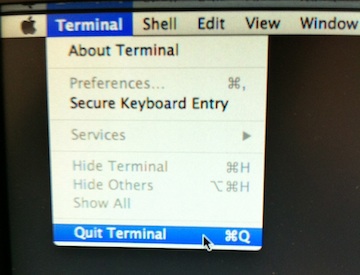
7. Then quit Terminal program from menu bar.
D. Verify and Restore from T4:
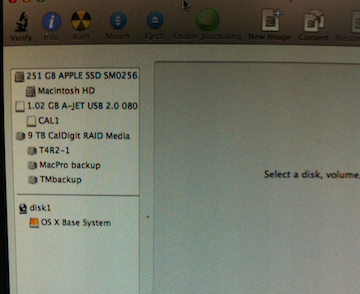
8. You can launch Disk Utility from menu bar to verify if T4 RAID can be recognized after loading the driver. Then quit Disk Utility.
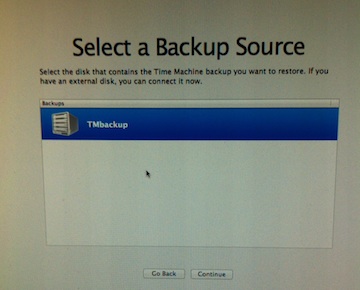
9. Now, select "Restore From Time Machine Backup" from the OSX Utility Window.
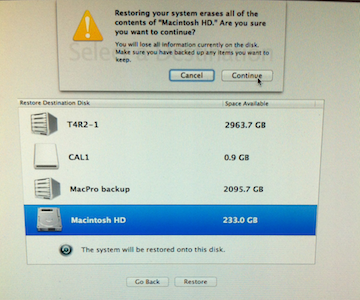
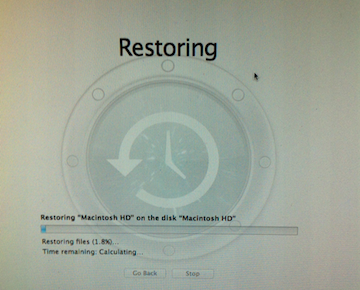
10. Select T4 RAID as the Time Machine source disk and the target disk to process restore.
|
Additional Information:
OS X: About OS X Recovery
Mac Basics: Time Machine backs up your Mac
|
|
Keywords : T4, Time machine, recovery mode
|
|
|
|
