Support - CalDigit Online Troubleshooting Knowledge Base
|
|
First Published: 6/14/2017 Last Modified: 7/20/2018 Last Modified by: LL
Article ID:204
|
Products Affected:
TS3 Lite - Thunderbolt Station 3 Lite, TS3 - Thunderbolt Station 3, TS3 Plus, Thunderbolt 3 mini Docks
|
CalDigit Thunderbolt Station 3, 3 Plus , Lite and mini Docks are Windows Thunderbolt certified products. The following 4 key elements can help you to use any Thunderbolt 3 devices with the Windows platform successfully.
1. Your computer must have the latest Thunderbolt 3 firmware and drivers installed. That also includes BIOS, Power Delivery Firmware and Graphics drivers.
2. Your Windows 10 must have the Intel Thunderbolt Software driver installed.
3. You must authorize the Thunderbolt connection for the TS3 Plus, TS3, TS3 Lite or mini Dock to your computer from the Intel Thunderbolt software.
4. In some Windows machines, you can enable Thunderbolt and USB Ports support from BIOS.
* Some Windows 15" laptops users, such as HP Spectre 15", may experience a power cycling issue with the TS3 or TS3+ dock when using the [Computer] port, or the Dock would not be recognized by the laptop. In this case, please use the non-[Computer] port to connect to your computer.
** For the Windows 15" and 17" laptops, typically you need more than 130W power supply to charge the laptop, please use OEM charger to charge your computer.
|
Please find the detailed information below.
1. Most PC Thunderbolt 3 computers from mid 2016 should have the latest Thunderbolt firmware and drivers installed from the manufacturer. However, please make sure to check the manufacturer's website and apply all of the updates. For example, the Dell XPS 15 or Alienware 15 R2 support page provides BIOS update, Thunderbolt firmware update under "Chipset" section, and Graphics drivers under "Video" section. All updates are required in order to make Thunderbolt device work properly.
Link to Dell XPS 15 9550 software update page
Link to Dell Alienware 15 R2 software update page
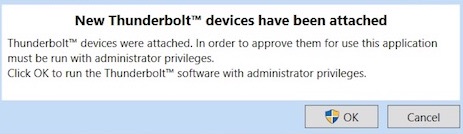
2. When first connecting a new Thunderbolt 3 device, wait up to 20 seconds. You may see a Windows popup message that says �New Thunderbolt devices have been attached�.
If not, you can search for the Intel Thunderbolt software driver manually and launch it. Plug cycle your Thunderbolt device if it is not detected by Intel software automatically.
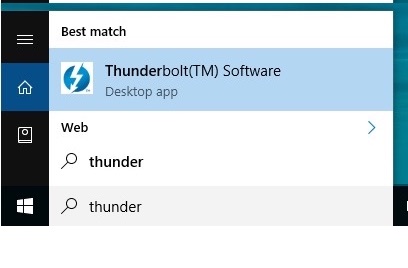
If you can not find this software installed on your system, you may need to download it from Intel�s website and install it. This especially applies to system builders, Mac users using Windows via Boot Camp, and systems that have had a clean Windows re-install.
Link to Intel Thunderbolt Software
If the Intel Thunderbolt software was installed but does not detect new Thunderbolt 3 device, please unplug all of your Thunderbolt 3 devices, reboot your computer, and reconnect your Thunderbolt 3 devices once you log back into Windows.
3. The new Thunderbolt 3 device must first be authenticated through Intel�s Thunderbolt 3 software before it can be used. To do this, follow the steps below:
3.1. Click on �OK� button from �New Thunderbolt devices have been attached� window.
3.2. After clicking OK, you may get a Windows User Account Control (UAC) popup asking if you want to allow this application to make changes to your PC?. Click �Yes�
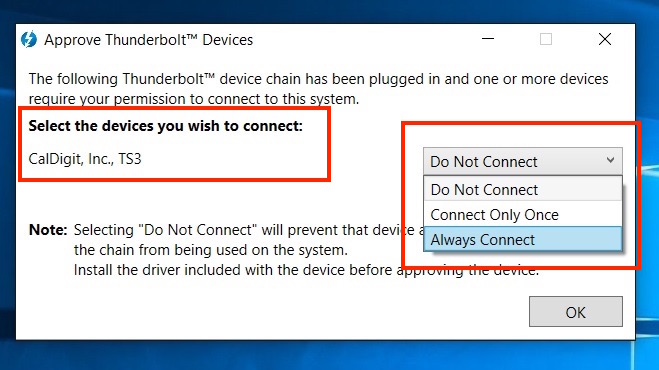
3.3. You should then see a window showing �Approve Thunderbolt Device�. Select the Thunderbolt Device you want to connect and choose �Always Connect� from the drop-down list. Then click �OK�.
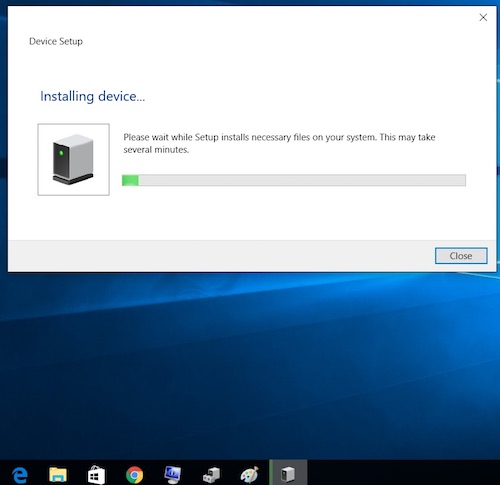
3.4. Now you should see Windows automatically install the new device. It may take up to 1 minute before all the controllers in the Thunderbolt 3 device are installed correctly and ready for use.
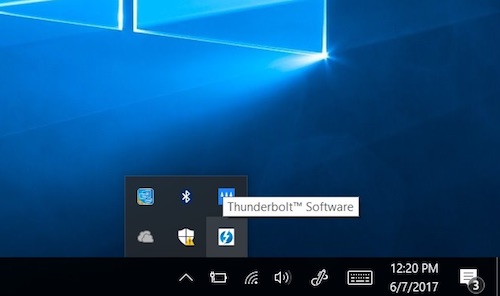
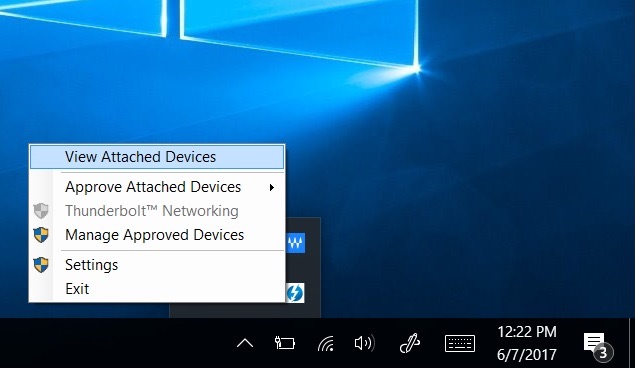
The Intel Thunderbolt software can also help you to view and manage approved Thunderbolt 3 devices. You can also obtain all Thunderbolt related information including NVM and PD firmware versions. You can find the Intel Thunderbolt software from the Windows system tray. Right click on the Thunderbolt icon and select View Attached Devices, Approve Attached Devices, Manage Approved Devices or Settings for more options and information about your computer�s Thunderbolt controller, firmware, software.
3.5. If you find the authorized Thunderbolt 3 device does not work properly, you can go to "Manage Approved Devices", deauthoirze it then reauthorize the device.
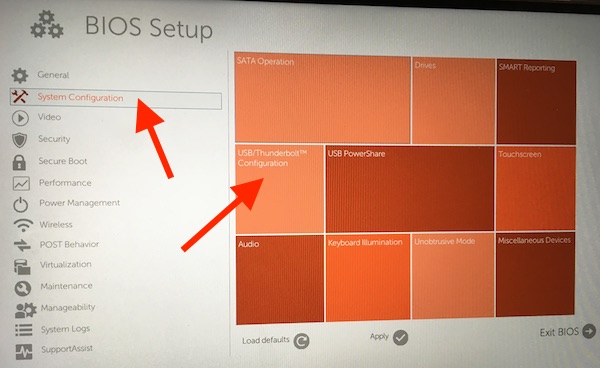
4. Most Windows PCs should have Thunderbolt 3 / USB Ports enabled by default. Some can be changed from BIOS Setup in case it's been disabled. For example, Dell XPS 13 9365 provides a way to control Thunderbolt and USB Ports from its BIOS.
Go to BIOS -> System Configuration -> USB/Thunderbolt Configuration.
You will need to enable "External USB Ports", "Thunderbolt Ports", and set the Security level to "User Authorization".

If you have any problem with CalDigit Thunderbolt devices, please contact us: support@caldigit.com
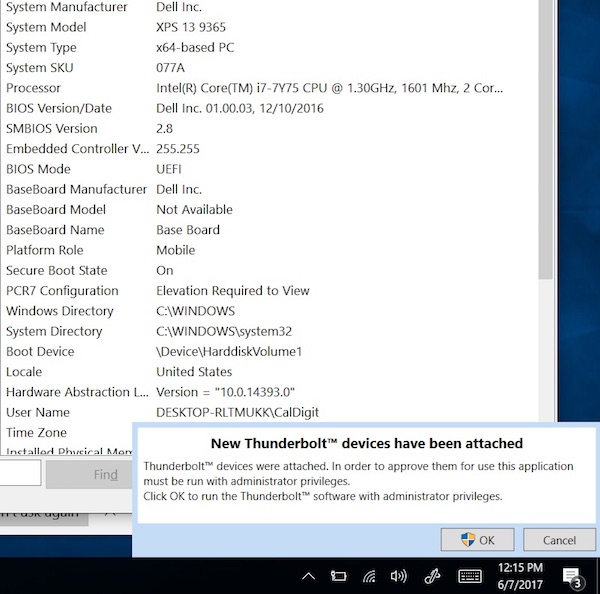
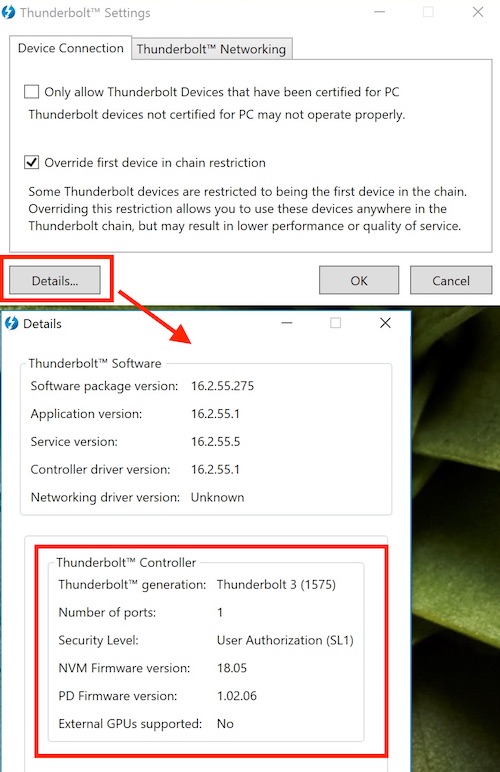
Be sure to provide your Thunderbolt Controller information including NVM firmware version, PD Firmware version, and Software package version shown like the screen shot above. You are also encouraged to provide Windows System Information in the email.
Retrieve Your Windows System Information
|
|
Keywords : TS3 plus, TS3, TS3 Lite, mini Dock, Windows 10, Intel Thunderbolt Software
|
|
|
|
